Thursday, 3 January 2013

A Lazy Projector Christmas


Like many others recently, I had the fantastic idea of making my Christmas presents this year.

Brilliant! I thought that my presesnts will be cheaper, thoughtful, give me the opportunity to make things (which I love) and practice some skills (which I sorely need.)

It was, lets just say, not as easy (or cheap) as I thought. But anyway, results as follows:

Firstly

A planter for my Mum.

A fairly simple design that only involves some lengths of wood, 8 screws and a length of metal wire.

In retrospect I could have done with the ability to make straighter cuts, as this is what the whole design hinged on (also, about two cuts from the end -having sweated my way through all the sawing with my hand saw- my next door neighbour's gardener swanned over and said he had a circular saw in his van and I could have used that. BIT BLOODY LATE BUDDY!) However, it turned out alright in the end.


Once all the cuts were made it was a simple case of drilling the holes (with my shiny new drill) and feeding the wire through. A few more clamps would have come in handy at this point!


Then simply a case of oiling it for protection and attaching a base (made using simple mitres for which my friend kindly leant me his mitre saw.) In a further stroke of excellence I forgot to take a photo of the finished product, oh well, I'll get one from Mum at some point.
 
** I forgot I have a picture of it finished now.. see below:**


Next, a rustic clock for my Dad.

This involved a lot of trial and error, mostly becasue it took about 3 different clock mechanisms to find one with a long enough spindle for the depth of the wood, that would also fit with the hands I had. Amazon and Ebay got some good business out of me that week! However, as the mechanisms are only about £2 each it was hardly a crippling investment. Chiselling the recess for the mechanism was fairly simple but also reasonably time consuming.


The slice of Ash was purchased from a nice man Scottish man on Etsy.


I decided to keep it simple - no numbers and very little sanding (I figured, knowing my Dad, he wouldn't notice any extra sanding anyway.) So simply - A Clock:


Next on the list: A hamper for my partner's parents.


Starting with a simple box made from old pallets (which hopefully will be useful in other ways once it served it's purpose as a hamper.)


Full of (potentially) tasty things. Including: truffles, mince pies and chilli jam. Also a little reindeer fellow (Rudi) who may appear later.

As part of future hampers: Mini Mulls (something like a tea bag for making mulled cider or apple juice.)


Drying the cheese cloth post wash.

Contents: Cinemon, Star Anise, Black Pepper, Cardomom, Cloves
Lovingly Packaged


Possibly the most frustrating: Chrismas Cards. Time contraints meant there were only two designs. Tree:


and bunting:


Finally for now: A Christmas Tree Decoration: Rudi (The Red Nosed Reindeer.)


Please accept my apologies for poor photography - it's dark in my kitchen (slash workshop) and I was too rushed to bother making much effort.

Merry Christmas All,

The Lazy Projector.


Saturday, 8 September 2012

BYOBeeB&B


The Bees are not having a good time at the moment. They are severely struggling. This may or may not be important to people, but without Bees everyone's food supply is going to be(e) in serious trouble (not to mention lots plants and animals are also gong to be doing some suffering). Essentially Bees do lots of really important things and right now they could do with a hand.

Click this link http://www.foe.co.uk/what_we_do/the_bee_cause_35033.html for more information on why Bees are awesome!

What's the relevance of this? You can help the Bees by making them (and other insects) a Bee Hotel for them to nest in. I recently made one as a gift for a friend.

I spent a while making a very complicated one (that wasn't very good because I was rushing), then I scrapped that and made a simple one which was better and easier. Have a look. It made me happy. (Use the link above to find instructions to make your own hotel.)


So what can we do to give the Bees a hand? Well, Bring Your Own Bee Bed and Breakfast.

Saturday, 25 August 2012

Trugging

Lost in an overwhelming sense of being pleased with myself, having built my chest set, I sent out the last few posts with an unnecessary number of words.

I did notice the stark contradiction to my original claim that my blog would be mostly (or entirely) pictures.

Reminding myself that I'm not overly talented when it comes to writing, and also that this blog is about making things, this next post (and hopefully those to follow) will come free from recipe like descriptions.

I will just say: I made a garden trug (to understand this word - see below) as a gift. I got the idea for the design in the world's most seventies woodwork book ever (featuring some amazing photography.)

See below.

My Workshop (sigh).


Done, now to collect some vegetables.

(One of my favourite things about making this was getting to use my shiny plane for the first time! Planing rocks.)

Wednesday, 16 May 2012

Chesty LaRue

When I was younger my dad had a home made chess set.

I loved it. The thought that he sat there and carved it himself, by hand, fascinated me.

I can still remember the first time I ever beat him at chess. An important moment.

I've always loved the idea of making my own chess set, a wooden set. My own carving, my own style. Unique. Mine.

Having done an extensive (5 evenings) Introduction to Woodwork course I was really starting to enjoy working with wood. With a friend's birthday looming the idea had rooted firmly in my mind.

However, a second, maybe two seconds thought and I realised it was well and beyond my ability. Any other ideas? Well, I found something different.

Nuts and bolts. Having enjoyed fiddling with my bike I had a few bits and pieces lying around, fittings and fastenings. Metalwork. I couldn't resist having a go. Most of the ideas for this piece were gently pilfered from someone else who'd done this first or maybe even had the original idea (or perhaps gently pilfered it from someone else), but all the hard work was mine.


Sourcing the parts was one of the hardest things. My local metal work place were fairly helpful but the fact that they keep all their loose nuts and bolts behind the counter made things a little tricky. It went something like this:


"er can I have a nut that looks a bit like the top of a castle. Your know..er.. castlelated....?"
"hmm yes we have some Zinc plated ones, what size?"
"I dunno... this big (holds up hands, looks imploring)"
"So an M10 will do will it?"

"er......... Yes.."

After about the sixth time I'd gone back I think the guys there were getting slightely bemused. Goodness knows what they thought I was building. Anyway, a lot of the stuff they didn't have, at least not in the quantity I wanted. 32 Flanged nuts for example.
At this point electronic bay dot com came to the rescue supplying all my nutty needs. I don't hugely enjoy shopping on ebay. But I can't deny it got me what I needed.

After a million years of mucking around looking for the right length bits I discovered something amazing:  threaded rods. Genius. That did leave me with half a days sawing through rods with a borrowed saw. That was hard work. (lukily I have guns of steel).


Left to right: Knight (Jumper in France), Rook (Castle), Bishop, King, Pawn, Queen.


Spraying the pieces was tricky. Every single time I stepped out the back door of my house for some spray time it started raining. Sometimes it kindly waited until I'd just sprayed them before it started.
I did all the pieces seperately then put them together and re-sprayed them. Mostly they got stuck to the newspaper, got wet or fell over every time I tried to spray them. Eventually I got them done. After spraying I used some metal sealant to try and stop them chipping (it doesn't really work).
Next was what I thought would be the hardest bit (but was actually quite enjoyable) ie the board. I got a nice square bit of Aluminium cut for me by my friendly neighbourhood metal shop man. It was a bit stained and a few scratches but otherwise good. I sat it in front of me and stared at it, desperately willing it to become a neatly marked chess board. I didn't oblige.
Remembering the lovely little sander I had been bought my previous birthday I sat myself down with the instructions and tried to work out if it would work on Aluminium, having never tried it before. In the end I just gave it a go. And the out come. Success!


Then an hour on the sofa in front of a DVD of the awesome 'Look Around You' with my stanley knife, a metal ruler and only a few mistakes later I had my squares marked out (pretty) evenly.


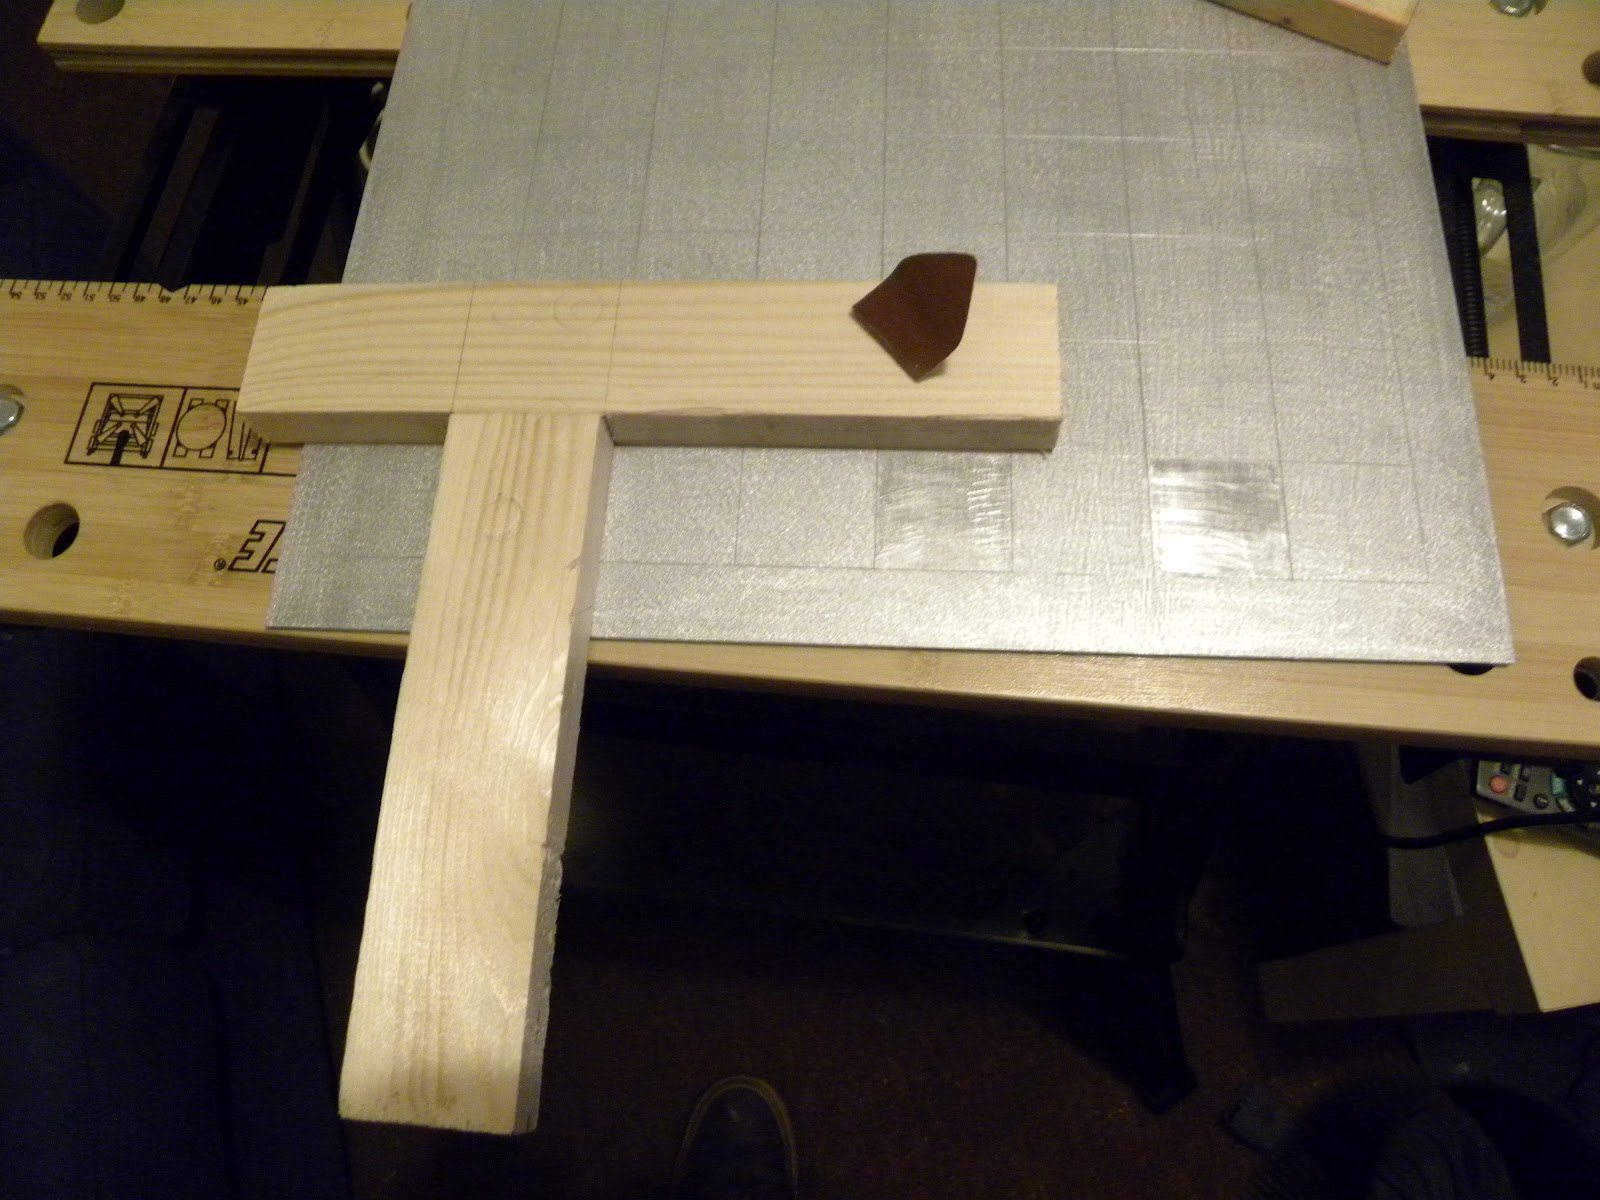
Finally it was time to colour the different colour squares. I had no idea how to do this. I was sure paint would chip, even enamel. I thought about wire wool and a few people suggested acids like rust eaters... basically I couldn't decide. I experiemtned with the detail attachment on my sander, but in the end I just grabbed some course sand paper, put on a movie and did it by hand (using a lovely
T-halving joint I made in wood class as a guide)


After a while I scrapped the guide and just went free hand, it was a lot easier and I think it worked out well..


And.... Done.


 Anyone fancy a game?  Knight to C3.

Sunday, 13 May 2012

Bruce BANNER (poor punning I know)

I'd consider myself a medium level comic book nerd.

I love reading comics and graphic novels and pouring over the pictures.

I always loved the idea of making things out of old comic books, I've seen some really cool examples, although I've always been unsure about the idea of taking the scissors to the pages. 

Anyway, I had a bunch of out of sequence, already read comics. Some nice red string type stuff from the corporate crafting nirvana known as Hobby Craft, 5 old comics, a load of sellotape and a triangle of card later and I had....

Comic book bunting for my lovely flatmate. :)


Hope he likes it..

If he puts it up I'll put a picture of it up too..

Tuesday, 1 May 2012

WALL-E

I can't claim this as a beautiful piece of Art, or a creative masterpiece.

After I built it, I took it apart, scraped the mortar off the bricks and neatly piled the bricks at the edge of the work area, eventually to be made into hundreds of other walls in the future. By other budding brickies.

But, I had to put it up here for the world to see because, you know, I BUILT A WALL.

So very, very pleased with myself.


Next: A House.

P.S. Please no one mention that it's only four bricks high. I only had an hour.